 Preparing To Apply
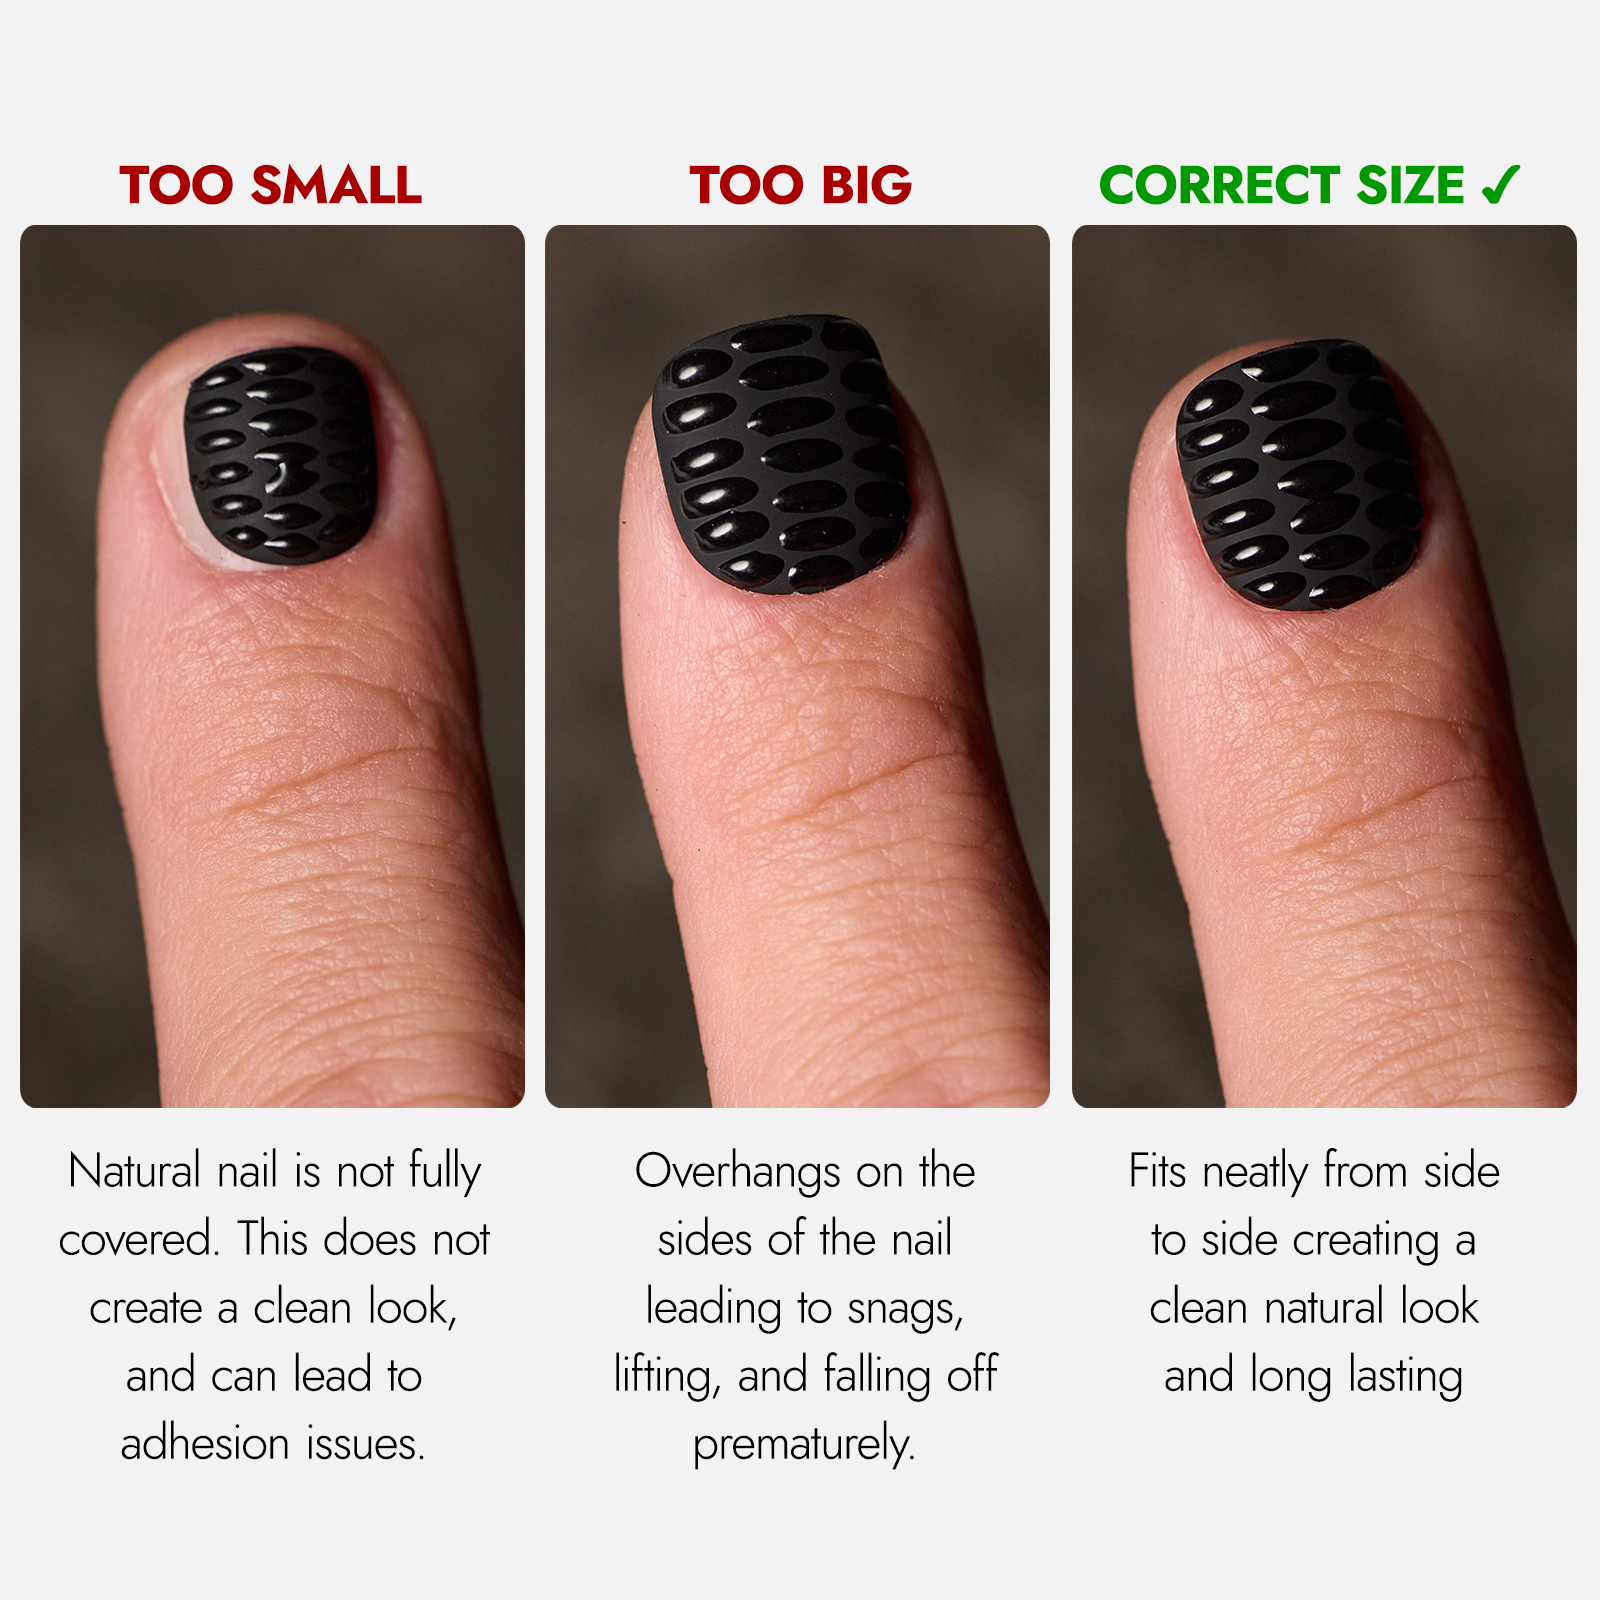
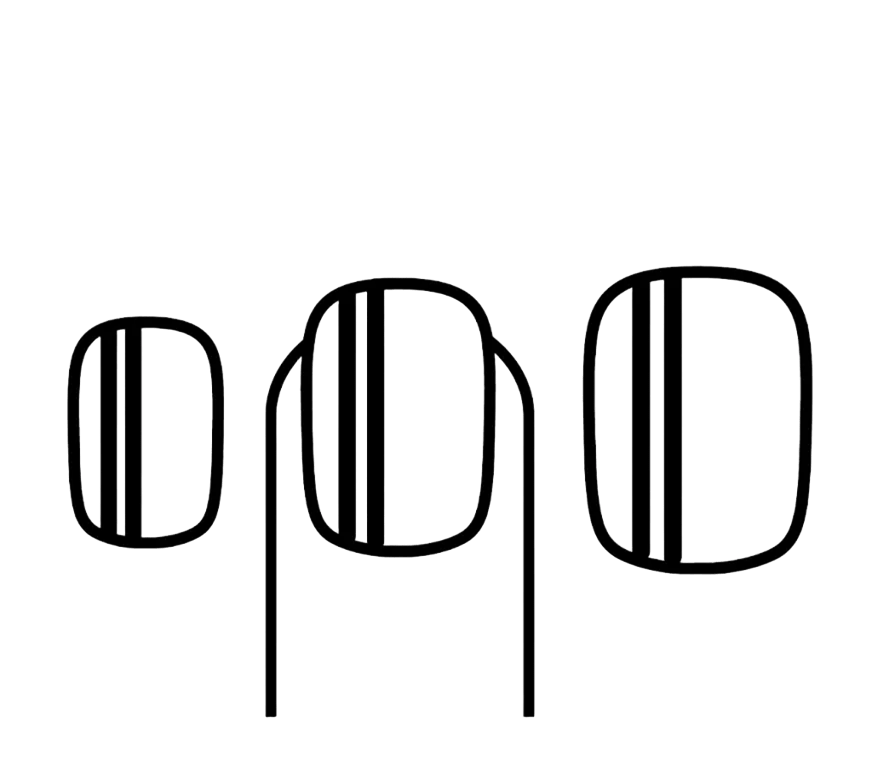 Find Your Size
 Applying Talons
 Removing Talons
 Reusing Talons
 Troubleshooting
Repeat for all nails
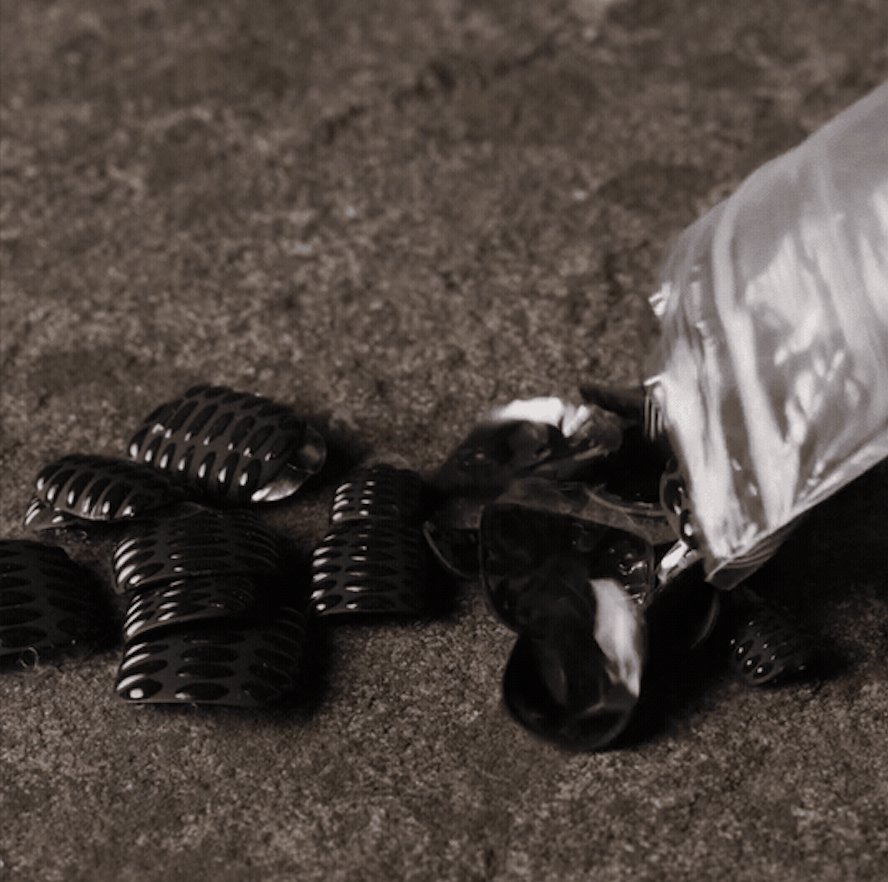
Lay out all 10 nails you will be using and return the rest to the tin before moving on
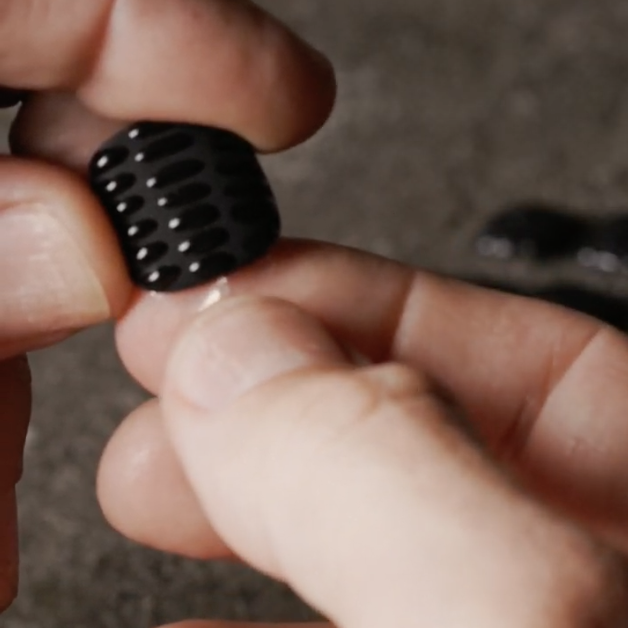
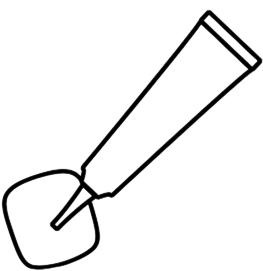
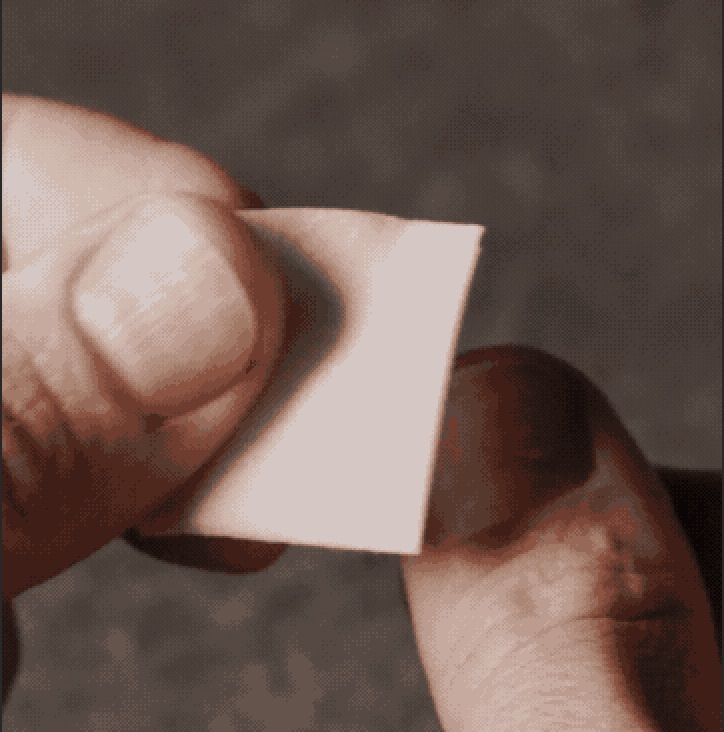
Peel the adhesive
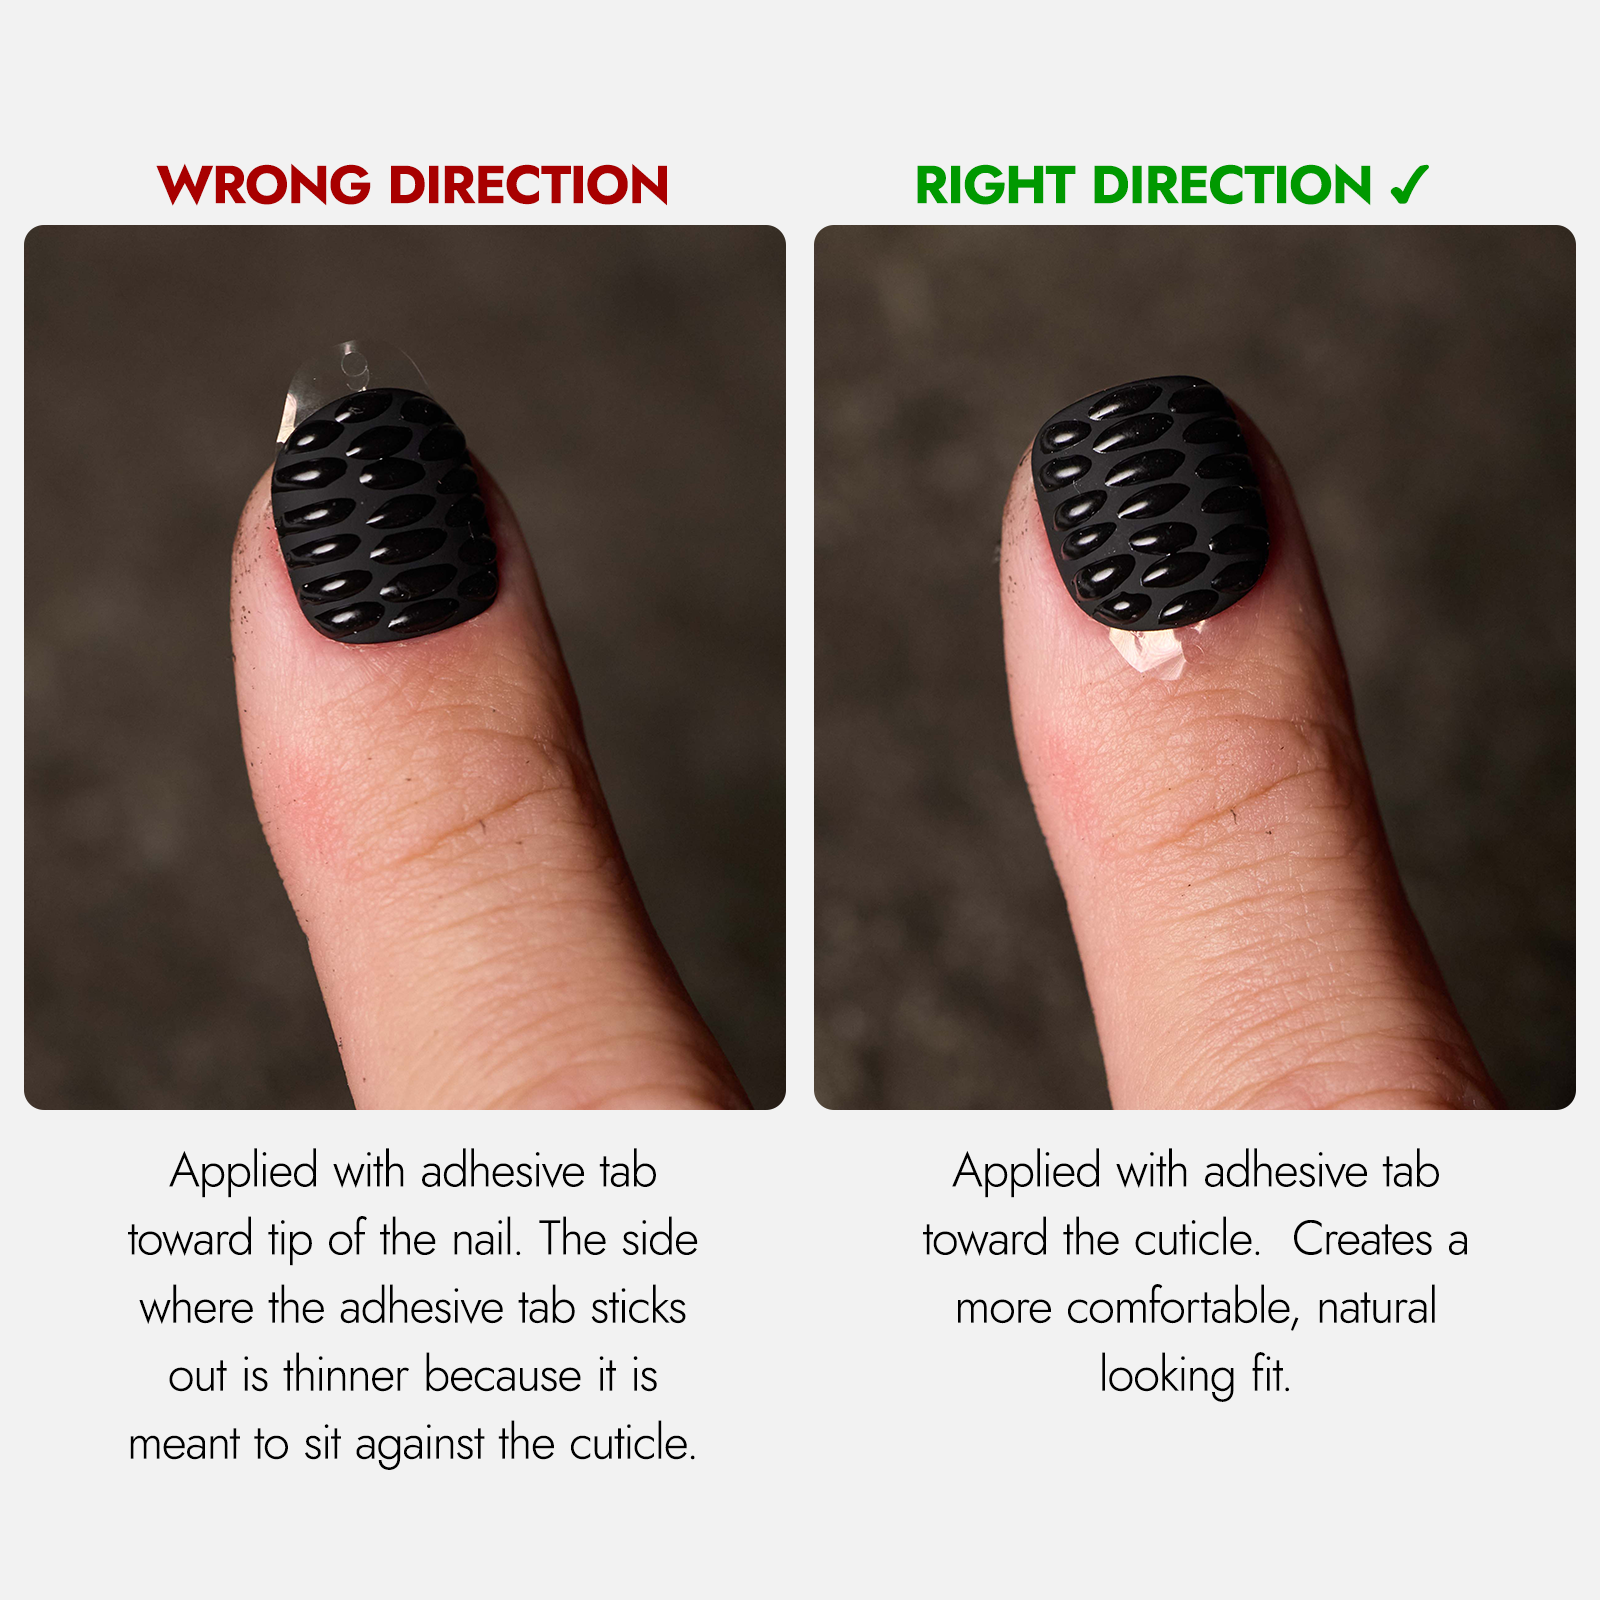
The side of the Talon where the protective tab sticks out goes toward the cuticle
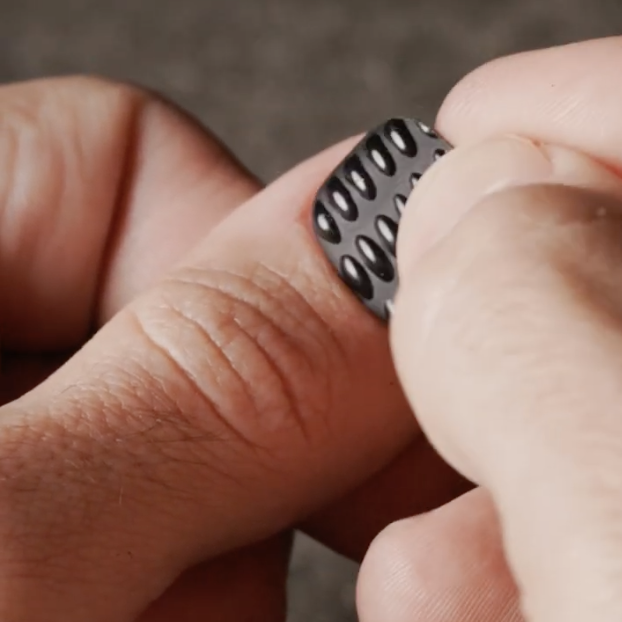
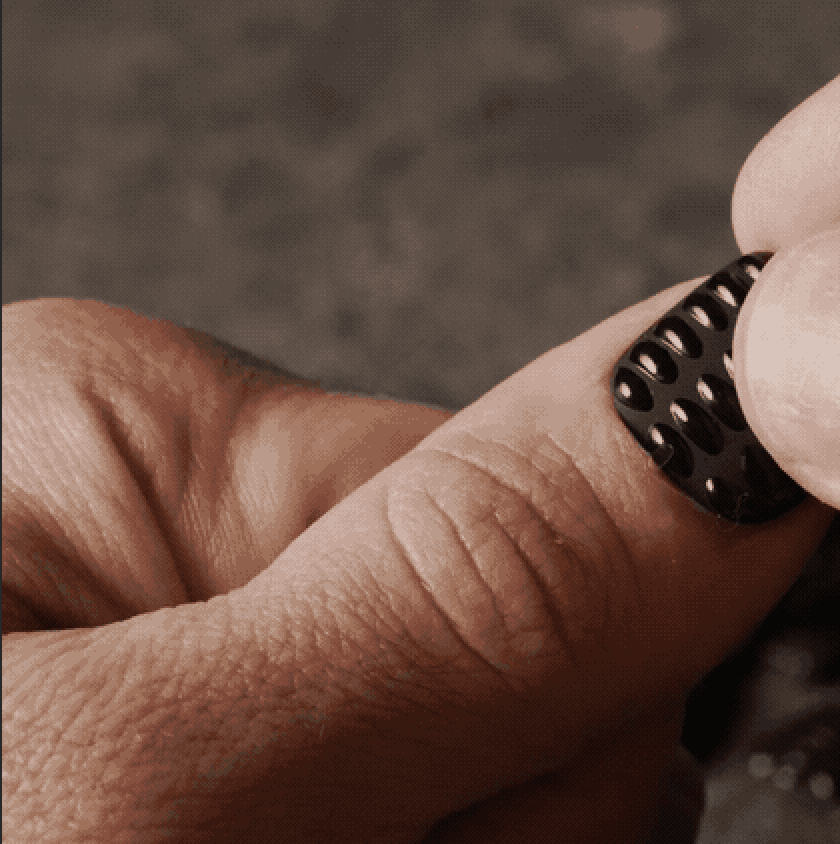
Align, press, and hold
Position against your cuticle at a 45-degree angle, once aligned, press down firmly on top for 5 seconds, and again on the sides for 5 seconds
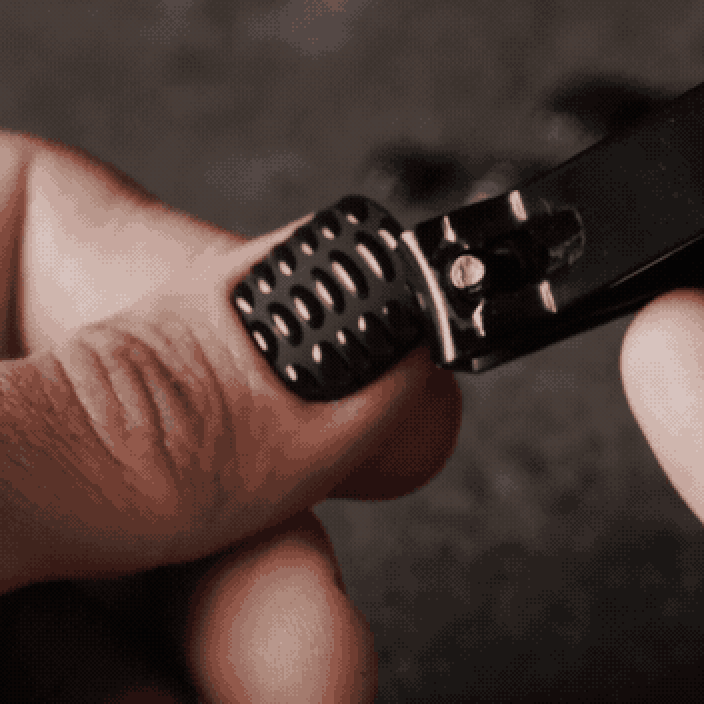
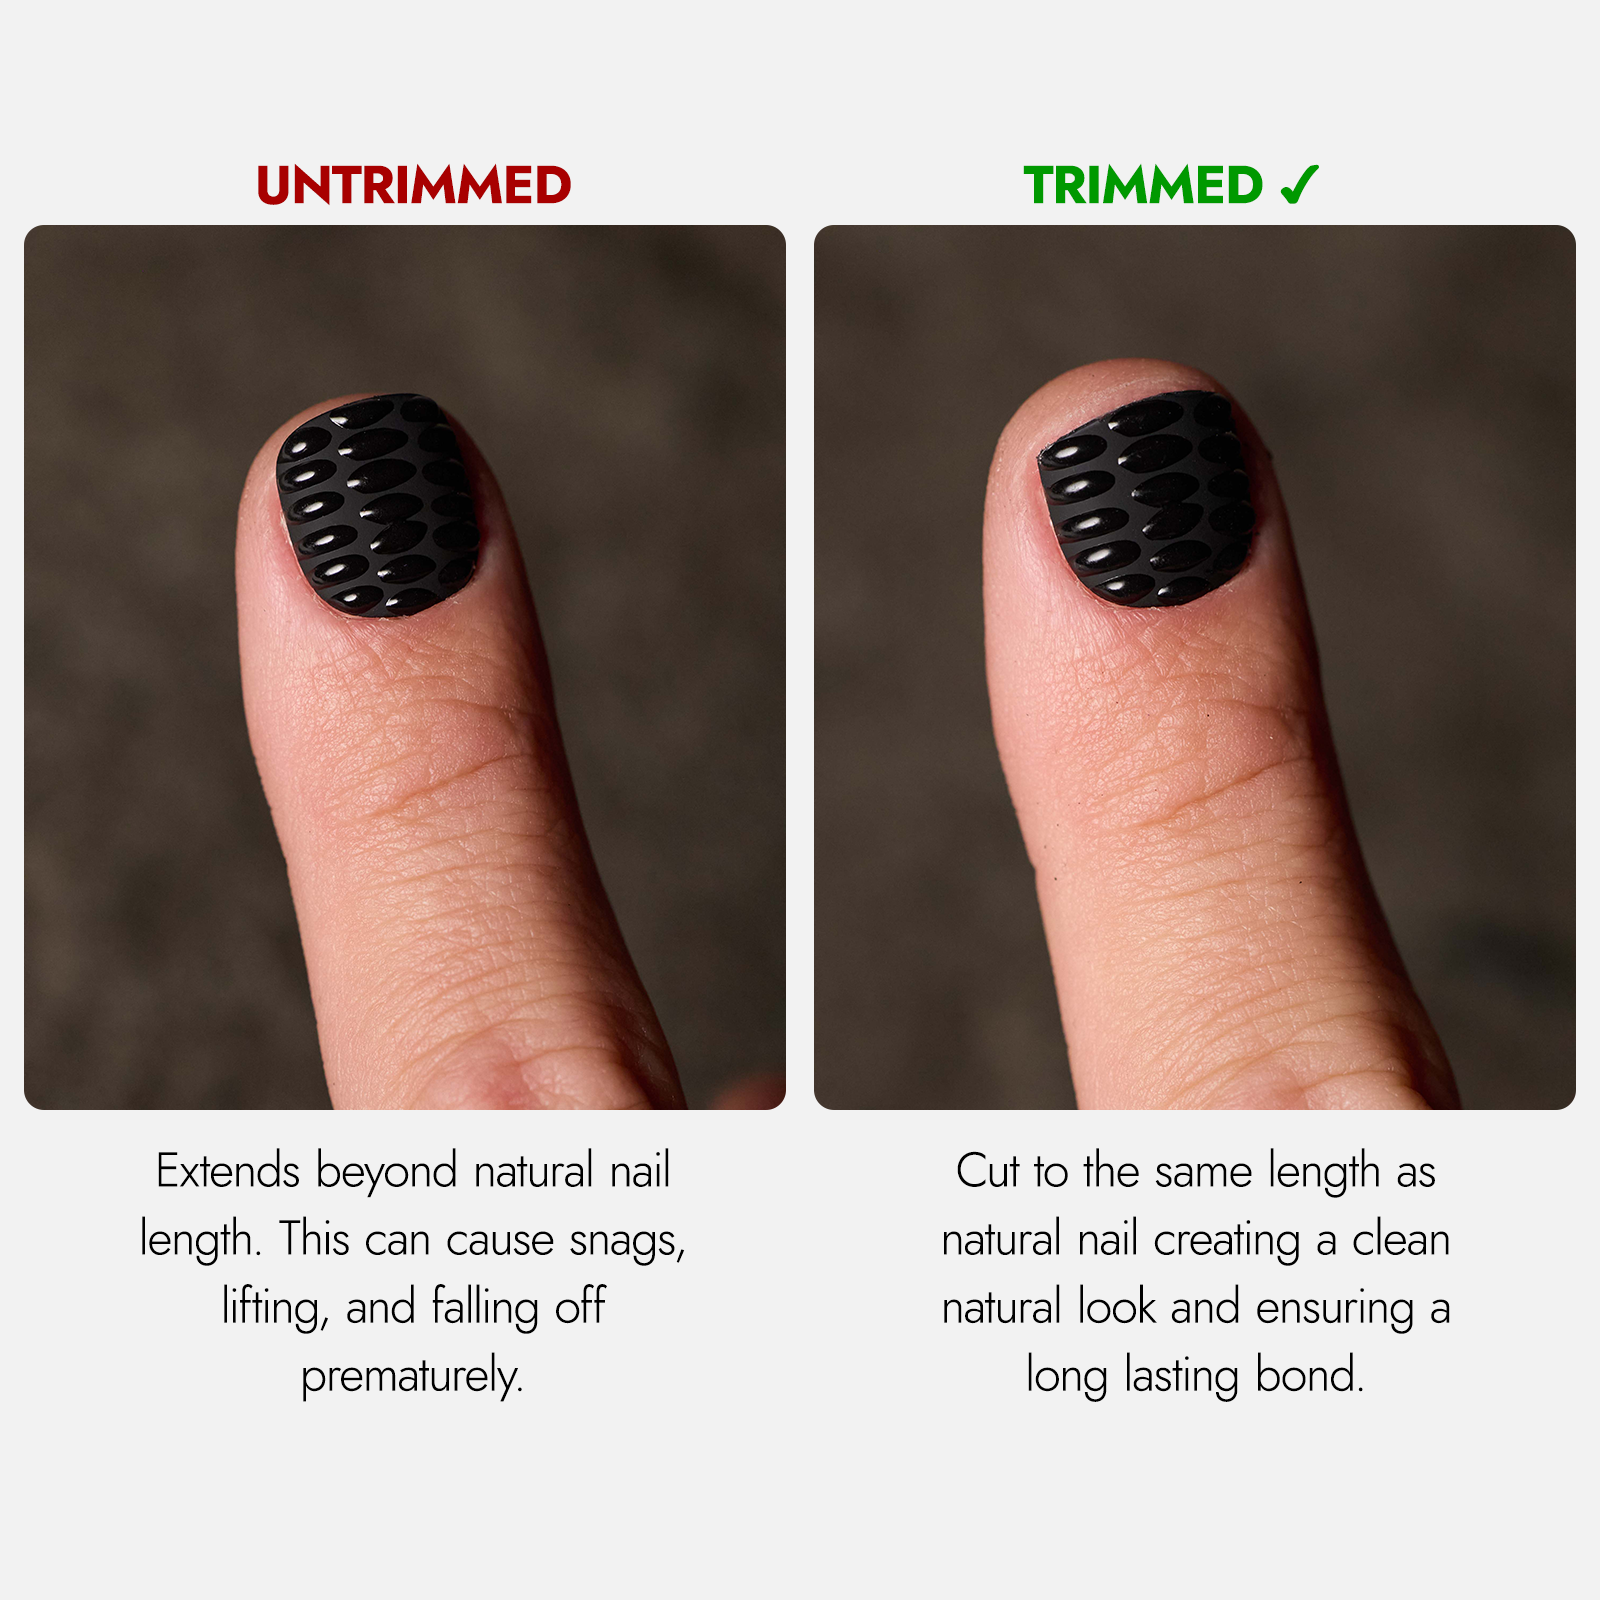
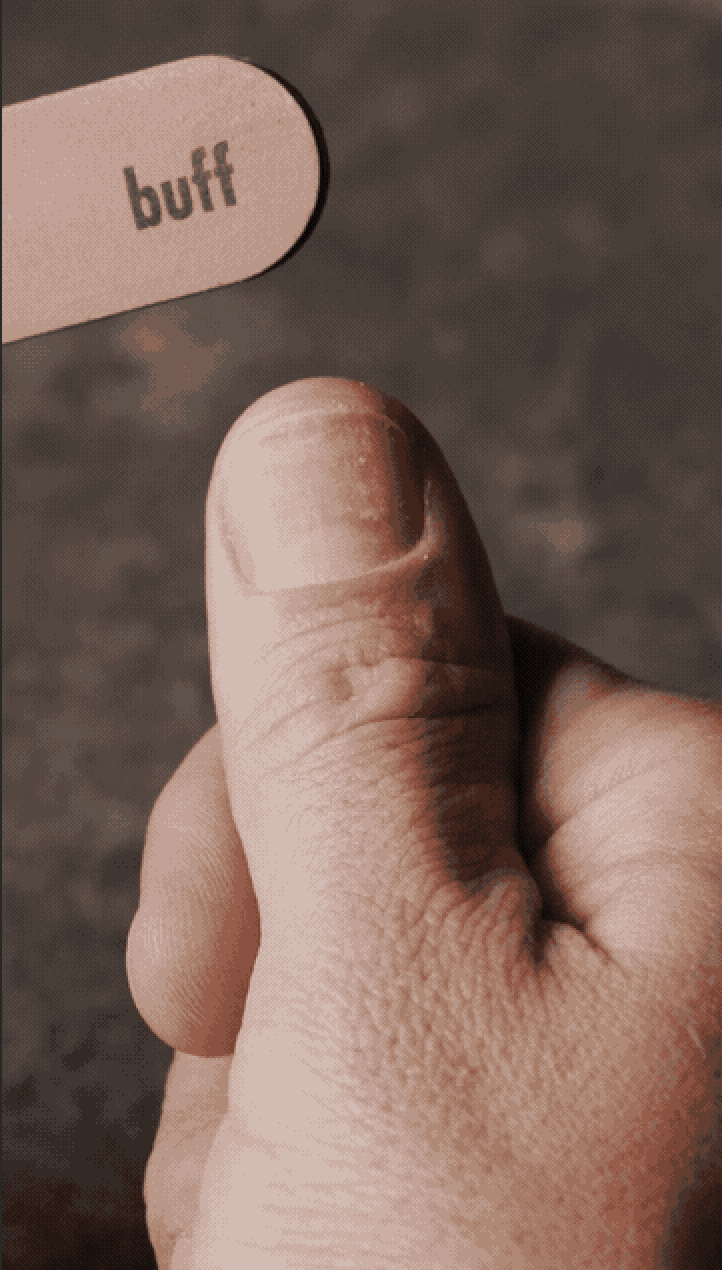
Trim and file
Cut and shape Talons to match your natural nail length, gently file or buff the ends for the cleanest look
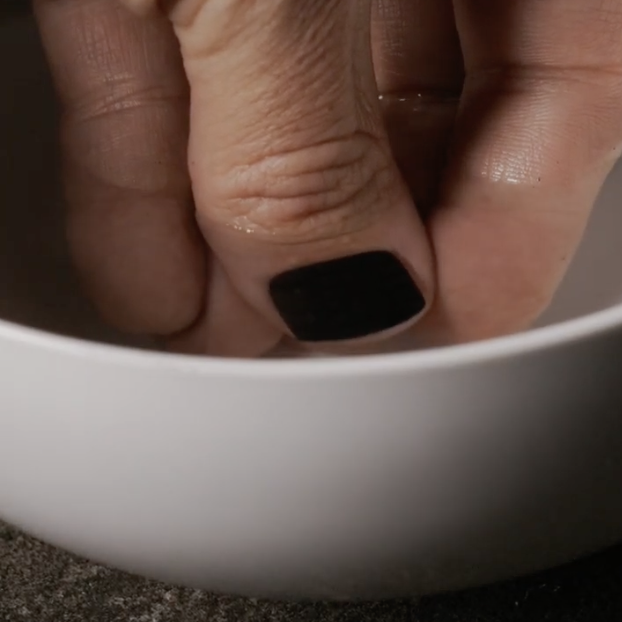
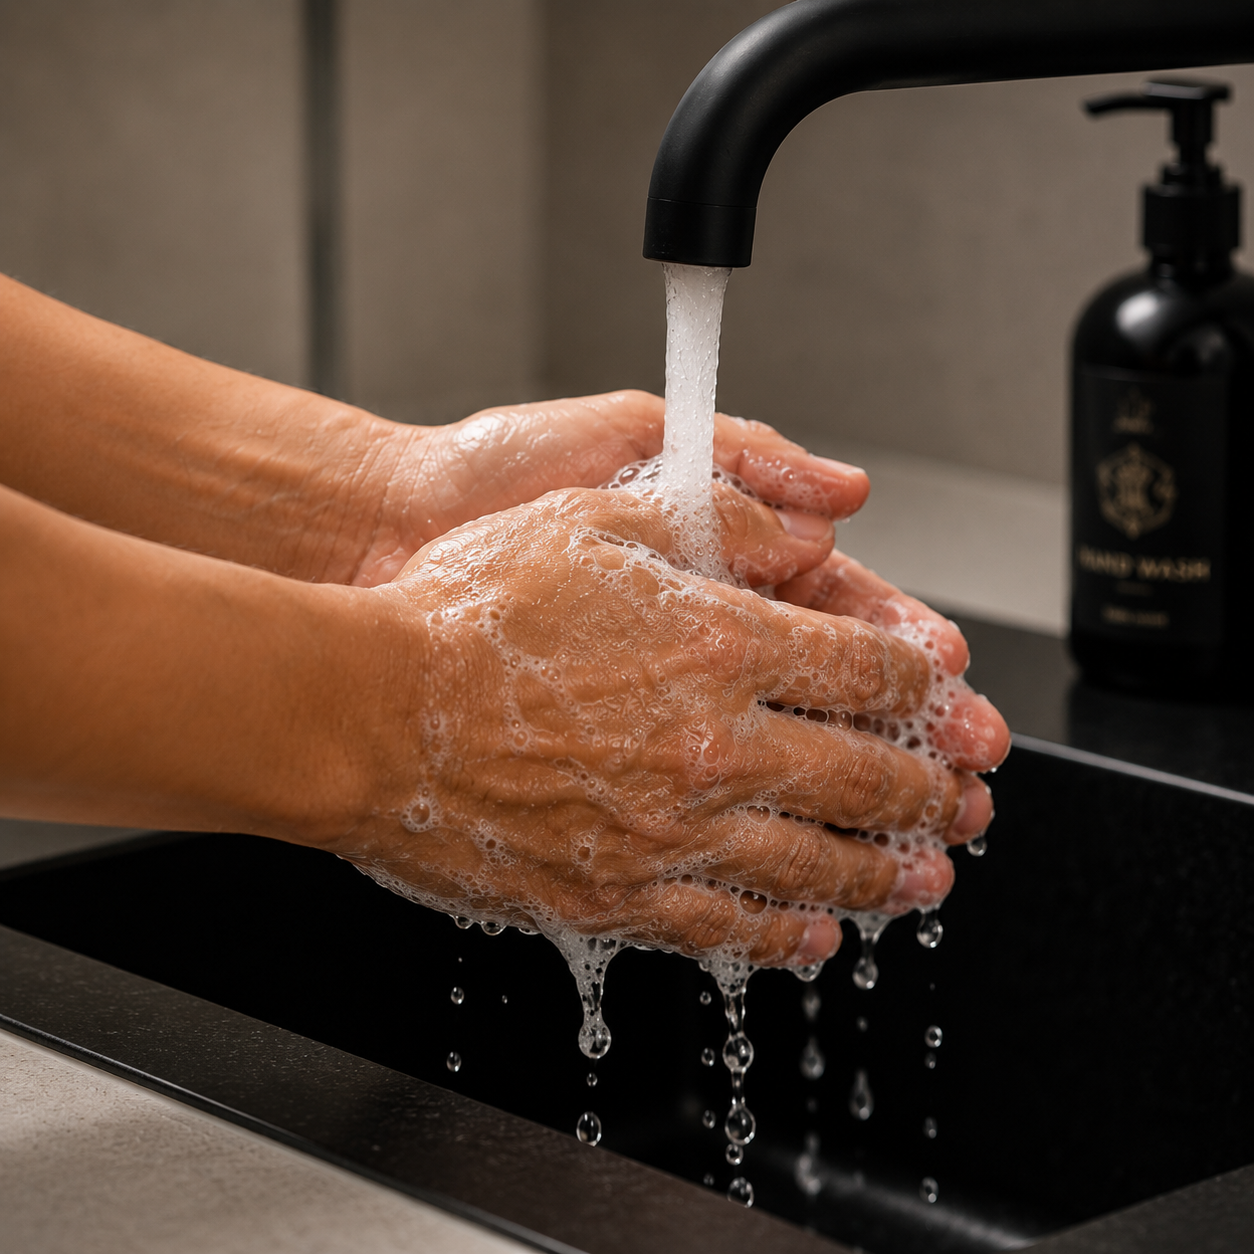
Soak in warm water
Submerging your nails in a bowl of warm water for 3 - 5 minutes will soften the adhesive and help ensure your nails are not damaged during the removal process
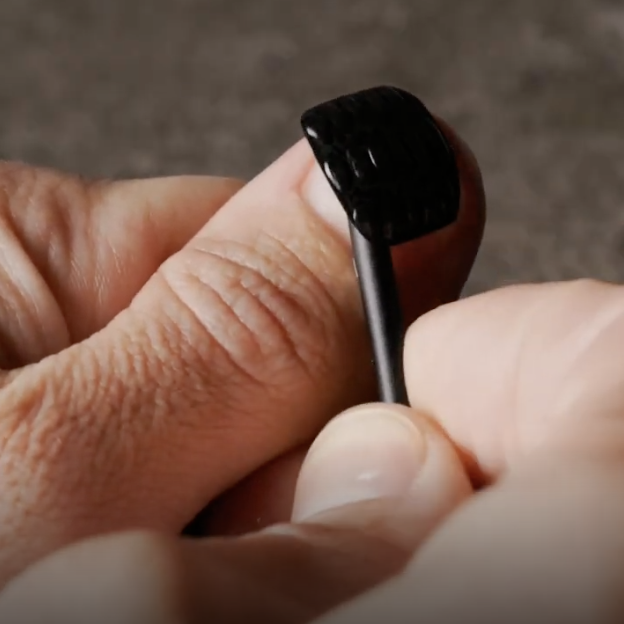
Lift the nail gently
Starting at the cuticle, gently work the multi-purpose tool under the nail, work your way forward with a focus on scraping the adhesive rather than prying the nail
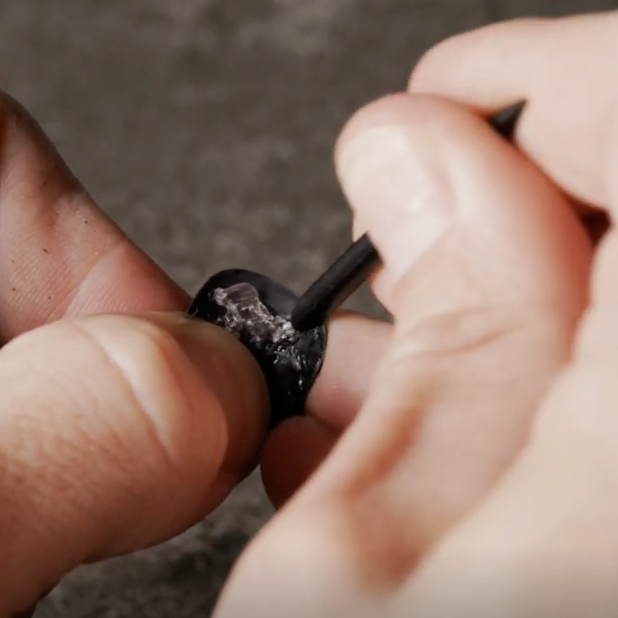
(Optional) Remove the adhesive
If you plan to reuse your Talons we recommend removing the old adhesive immediately after taking them off
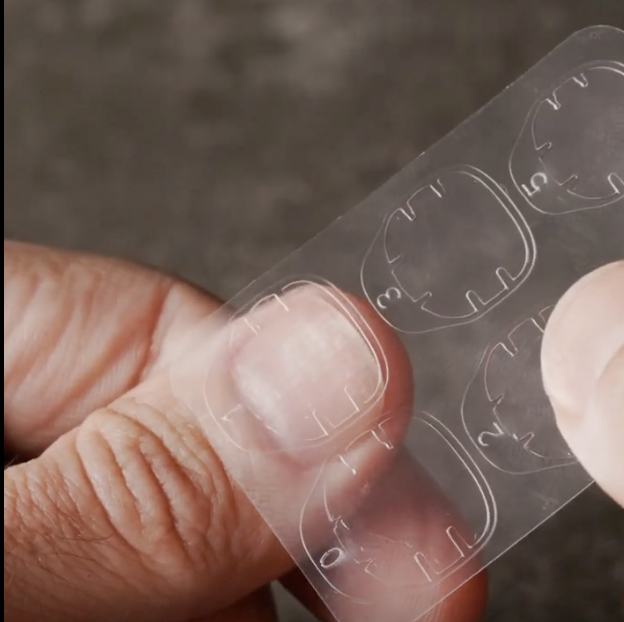
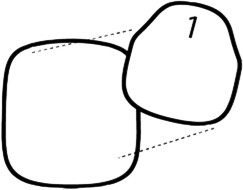
Match adhesive to natural nail
Begin by wiping your nails with alcohol, choose the replacement adhesive size that fully covers your natural nail from top-to-bottom and side-to-side
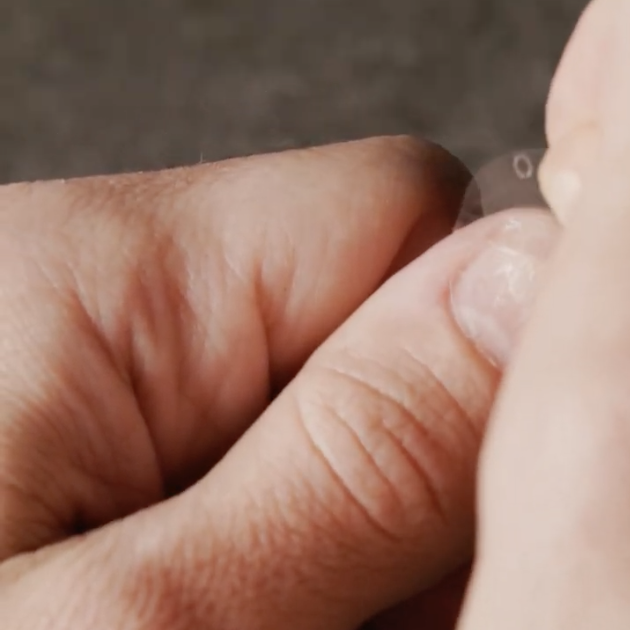
Apply Talons
Remove protective covering from adhesive tab, position Talons against cuticle, once aligned- press firmly for 5–10 seconds, applying pressure to all parts of the nail